How to Knit icord
I-cord is one of those little knitting techniques that can completely transform your projects. Whether you're looking for a polished edge or a sturdy drawstring, i-cord is an essential skill to have in your knitting toolkit. In this post, I'll walk you through what i-cord is and how to knit it. Plus, I’ve included video tutorials to help you learn step by step!
Legend has it that I-cord is short for "idiot cord" because it's so simple to make that anyone could do it. It was popularized by Elizabeth Zimmermann and is created using two double-pointed needles, a circular needle or even straight needles.
Icord is essentially a small tube of knitting worked in tight circles over just a few stitches and creates the perfect cord or string for bags, sweaters and even bound off edges.
How to Knit I-Cord
Here’s a quick step-by-step guide:
-
Cast on 3-5 stitches (depending on how thick you want your i-cord to be) using double-pointed needles or a circular needle.
-
Knit all stitches.
-
Instead of turning your work, slide the stitches back to the right-hand side of the needle.
-
Bring the working yarn around the back of the work and knit the stitches again.
-
Repeat this process until your i-cord is as long as you need.
For a more detailed demonstration, check out my video tutorial
Seamlessly Joining I-Cord Ends
If you’re using i-cord for a loop or an edging, you might want to join the ends seamlessly. Here’s how:
-
Use the Kitchener stitch to graft live stitches together for a truly invisible join.
-
If you’ve already bound off one end, try using a duplicate stitch to mimic the i-cord structure.
-
For a quick and easy method, you can sew the ends together neatly with a tapestry needle.
I cover all these methods in my tutorial video below:
Using I-Cord to Bind Off Your Knitting
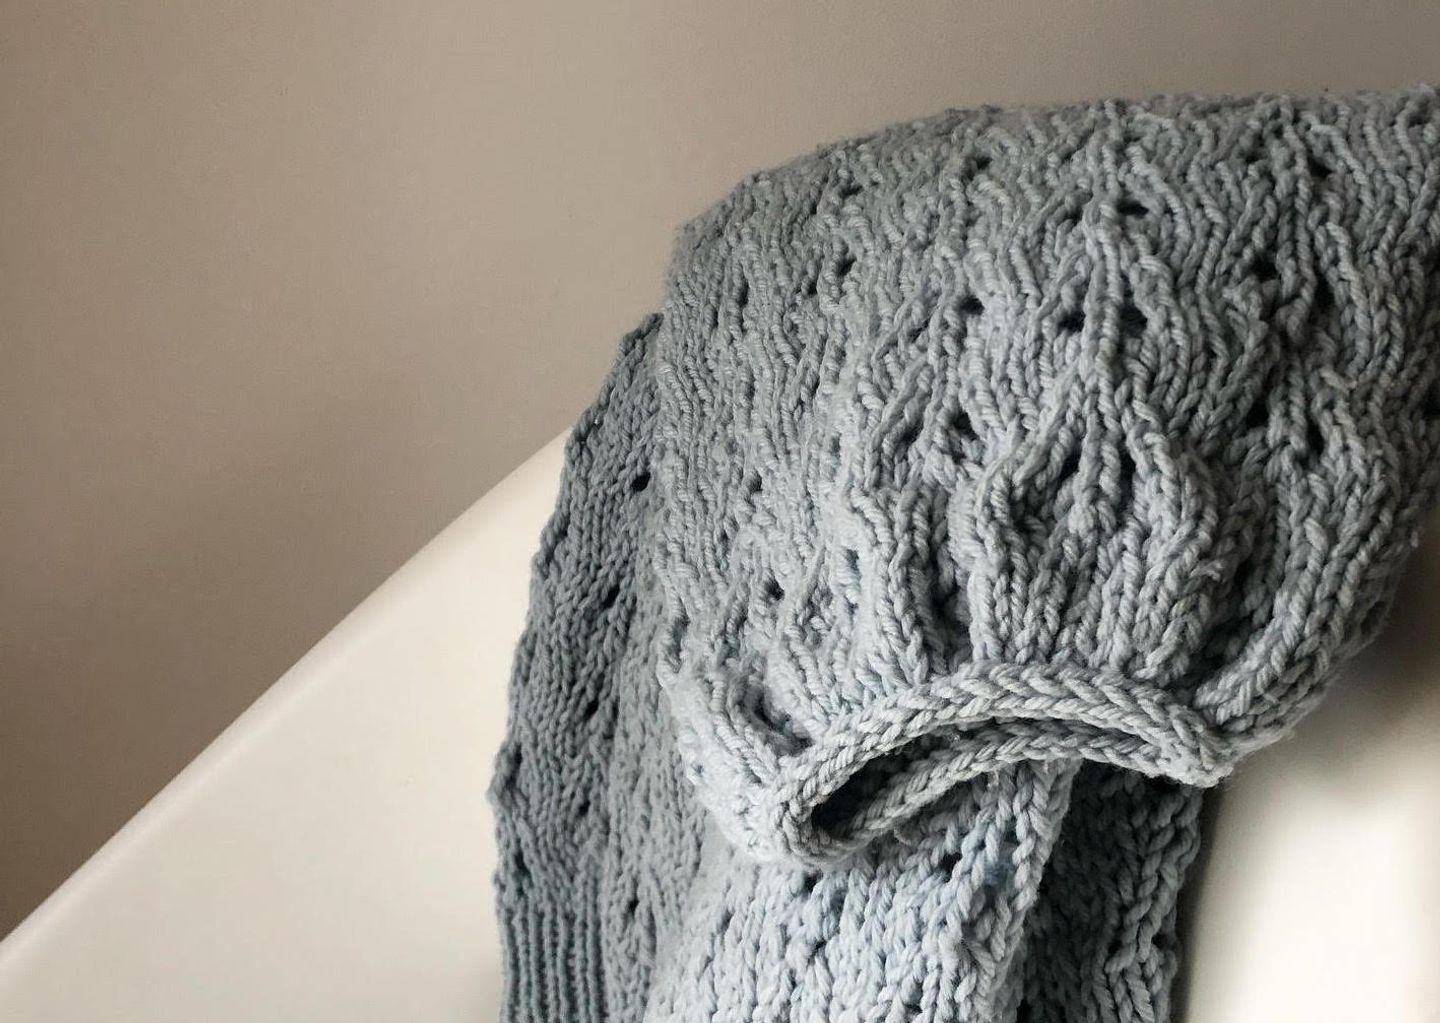
An i-cord bind-off is one of the best ways to give your project a smooth, non-stretch edge. It creates a rounded finish that looks amazing on cuffs, bags and even blankets.
Here’s a quick overview of how to do an i-cord bind-off:
-
Cast on 3 new stitches at the beginning of your bind-off row.
-
Knit 2 stitches, then knit the next two stitches together through the back loop.
-
Slide the stitches back to the left-hand needle and repeat until all stitches are bound off.
-
Seam or weave in the end of the i-cord for a neat finish.
Want to see it in action? Watch my tutorial: