Weaving in Your Ends ... Invisibly
The last step on your knitting project before blocking (or immediately wearing) is to weave in those loose tails of yarn. I usually go for a common method which leaves tiny yarn tails flapping on the inside my sweater until they felt into the fabric. But if you've made a reversible garment, then flappy ends just aren't going to work.
Before I jump into invisible ways to weave in your ends ... if your garment isn't reversible then you could consider knitting the ends in as you go. If you're casting on a project, you can hold the working yarn and the tail together and knit them together for the next five stitches or so. If you're joining a new ball of yarn, hold the new strand together with the old one and knit both together for the next five stitches or so. Then just let the old strand go and leave a small tail there. It's a great way to avoid weaving in ends later but keep in mind that it's not ideal for colour changes because it might show through.
For reversible garments, I recommend using a magic knot for an invisible finish when changing yarn mid-project. It needs to be done while you're knitting (not at the end of your project) and it doesn't leave any tails on your knitting fabric to weave in later. But, it still leaves you with the start and end threads and that's what we're doing today.
In this tutorial, I'll show you how to weave in yarn ends on the Broken Rib beanie. Because it's reversible, an invisible finish is everything. A video version of this tutorial is available below or you can keep reading for photo tutorials.
Let's start with the ribbing and then we'll move onto the crown of the hat.
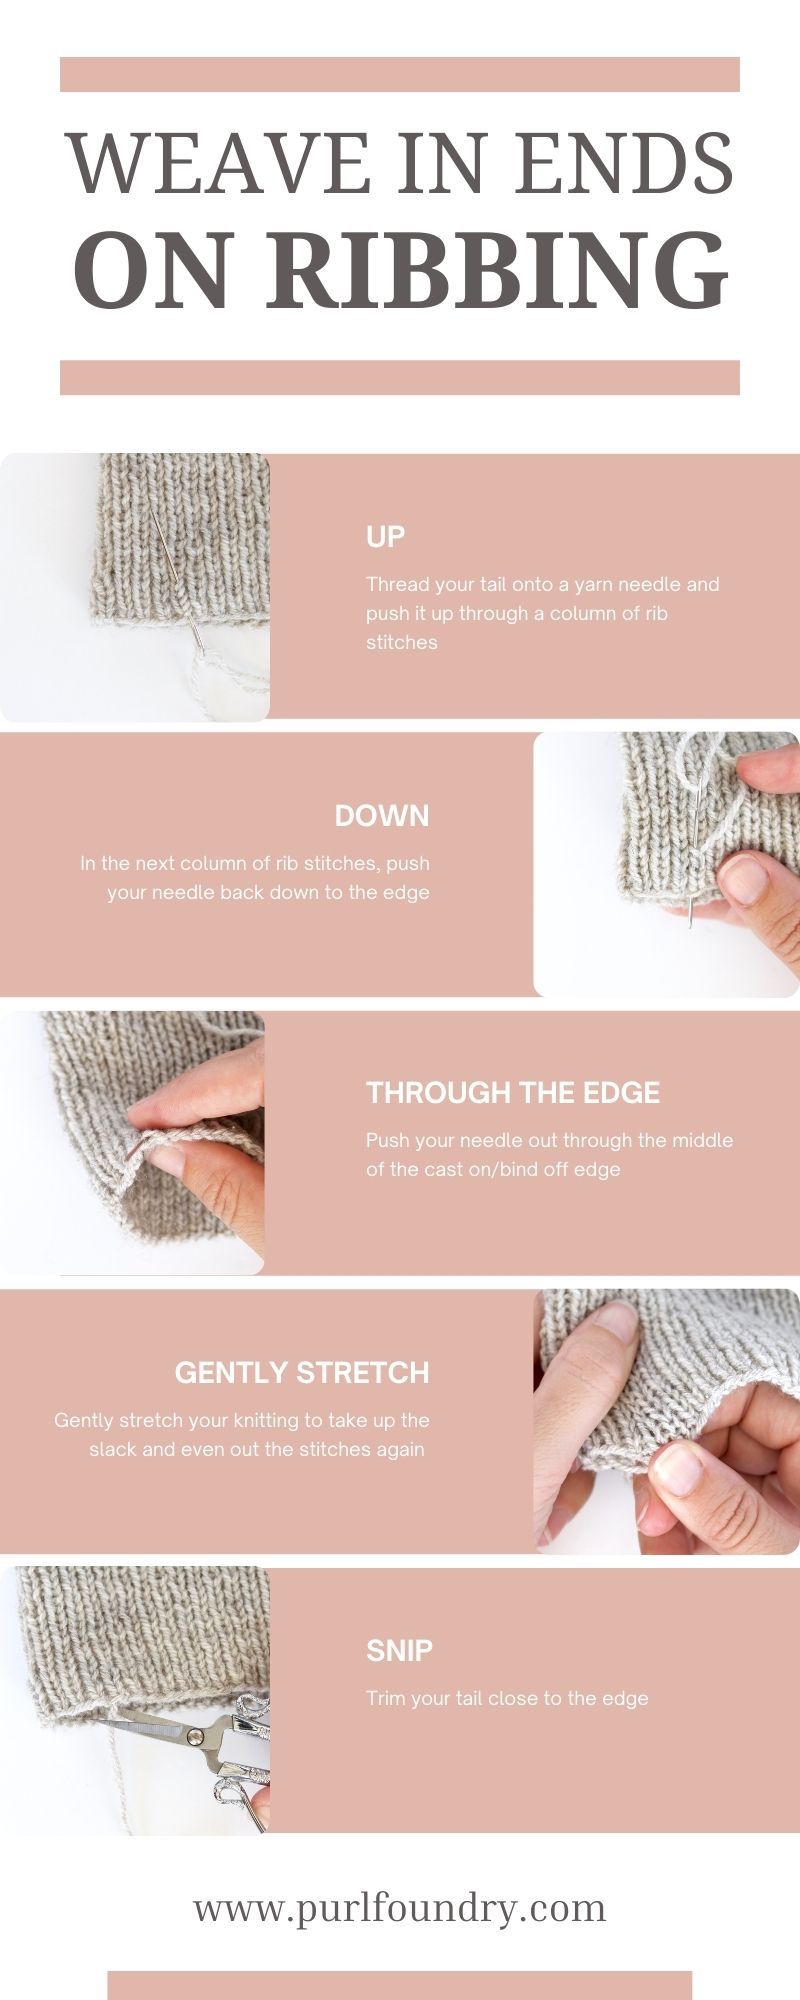
Weaving in Ends Invisibly on Ribbing
Thread the yarn tail onto a yarn needle.
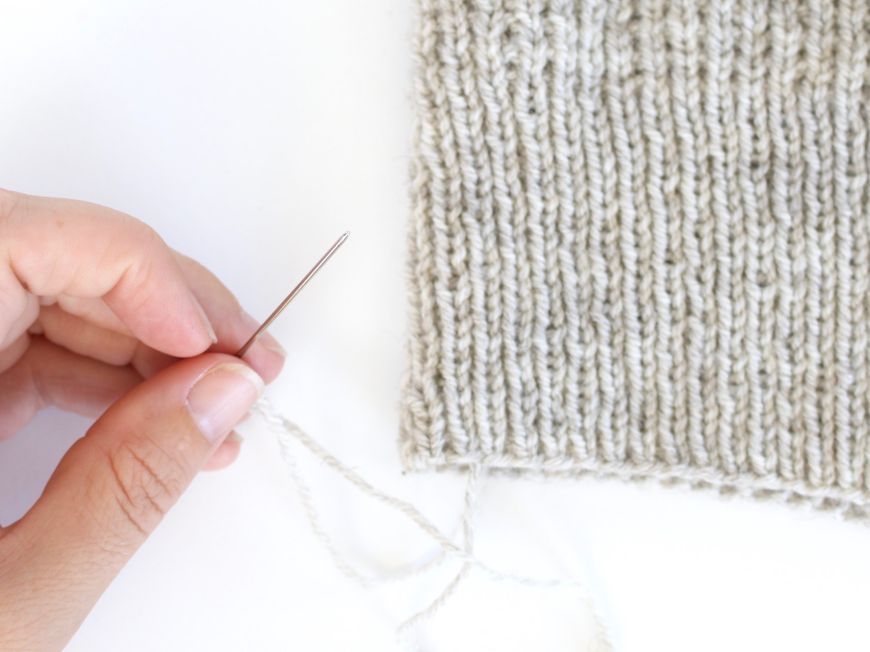
Push your needle up into one column of rib stitches.
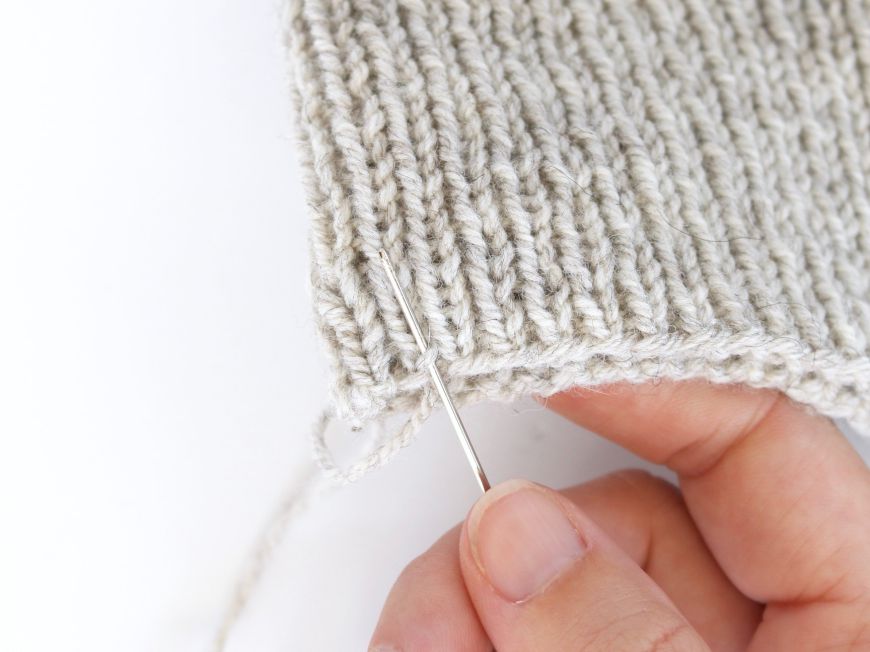
Go through about five rows of ribbing.
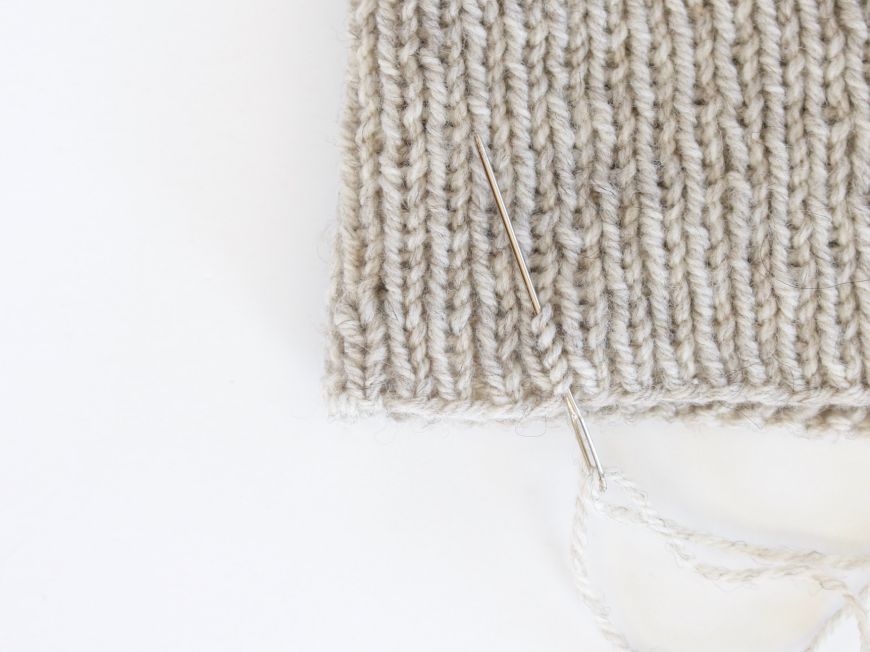
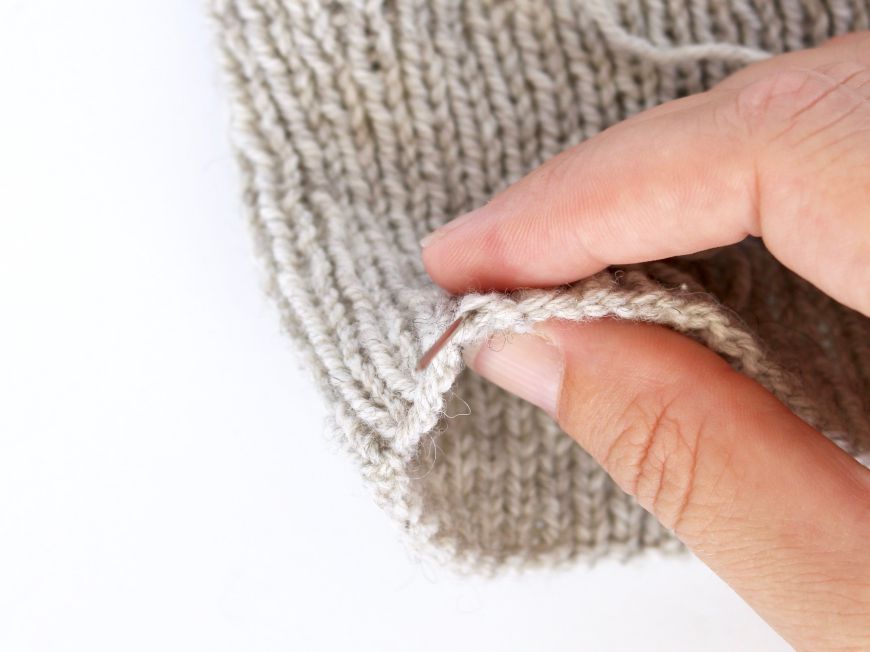
Turn back down towards the edge of the hat and weave your needle into the next column of ribbing stitches.
Slide down through the rows of stitches until you reach the edge again.
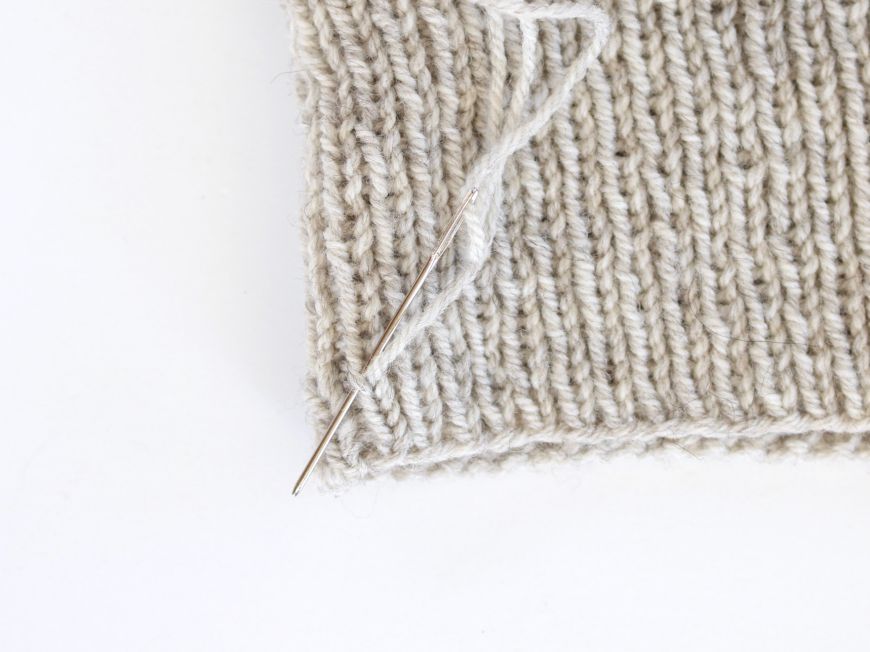
Push the needle out through the middle of your cast on/bind off edge.
Don't pull the yarn too tight. Leave a little loop at the top.
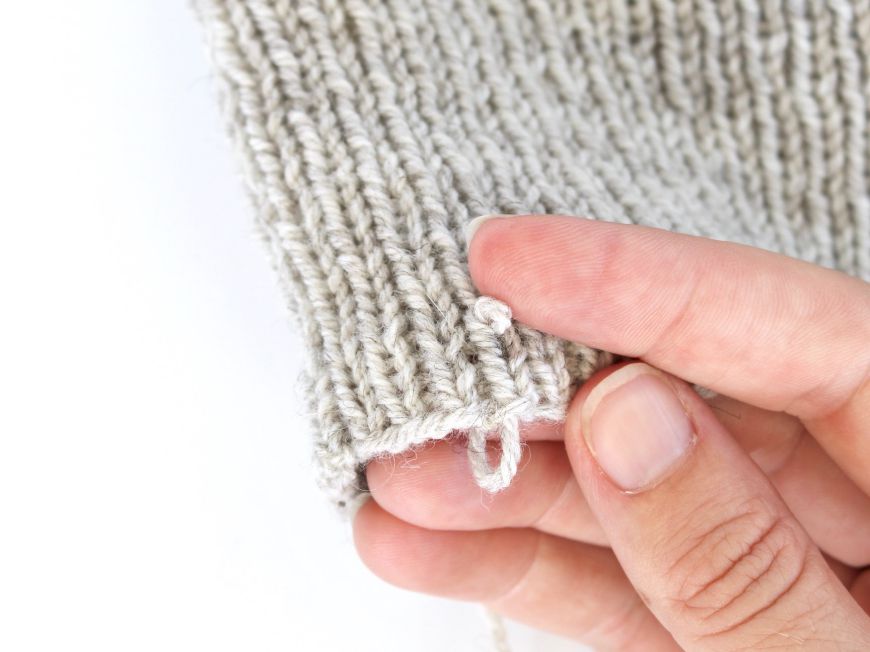
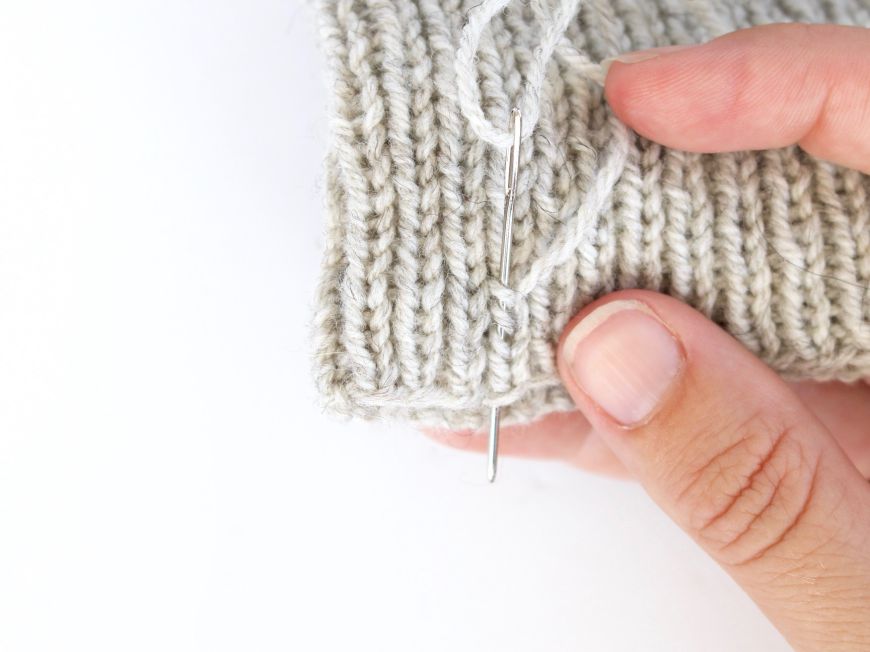
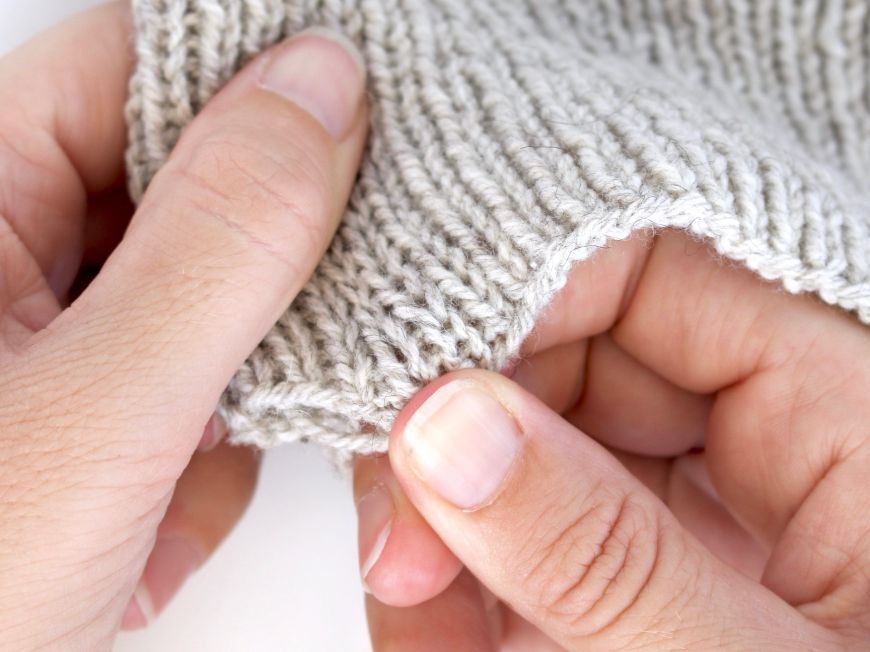
Gently stretch your knitting to take up the slack. If you still have a small loop left on your knitting, gently pull the yarn until it disappears.
Trim your yarn quite close to the edge.
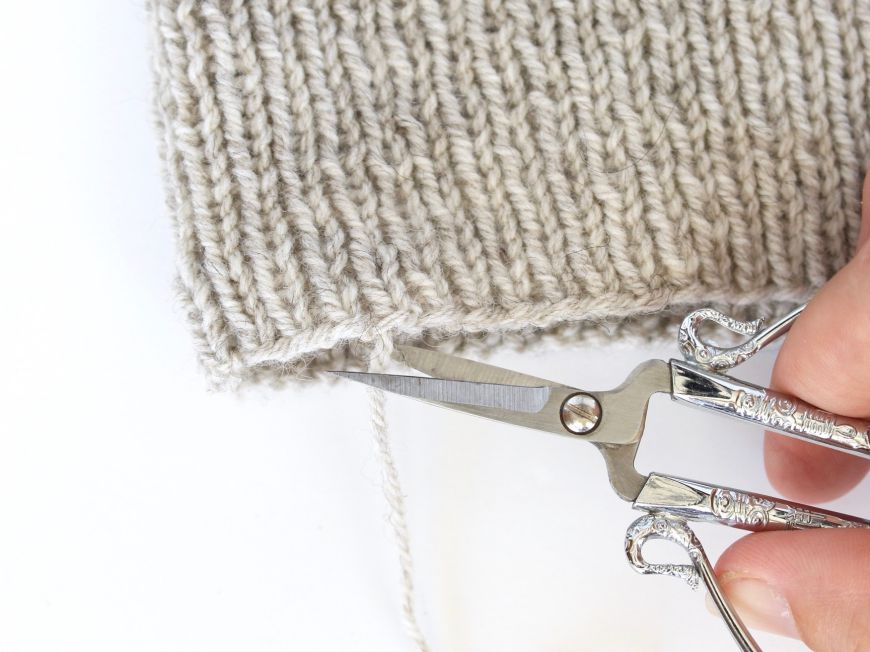
And you're done! A nice invisible finish.
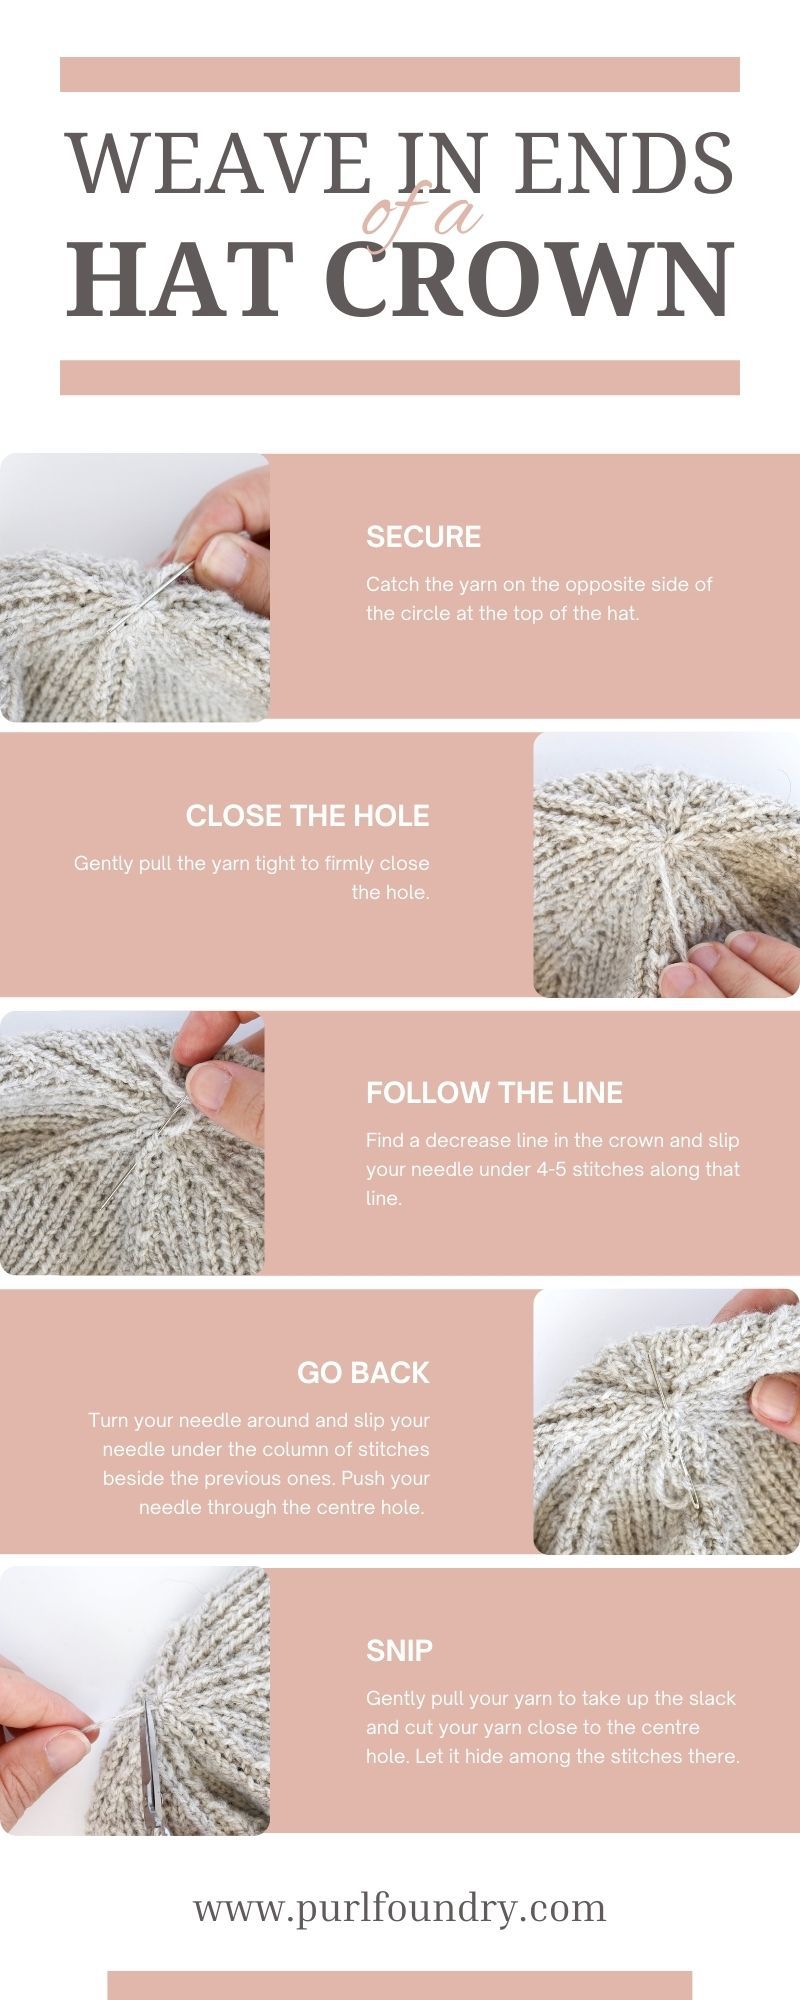
Weaving in Ends Invisibly on a Hat Crown
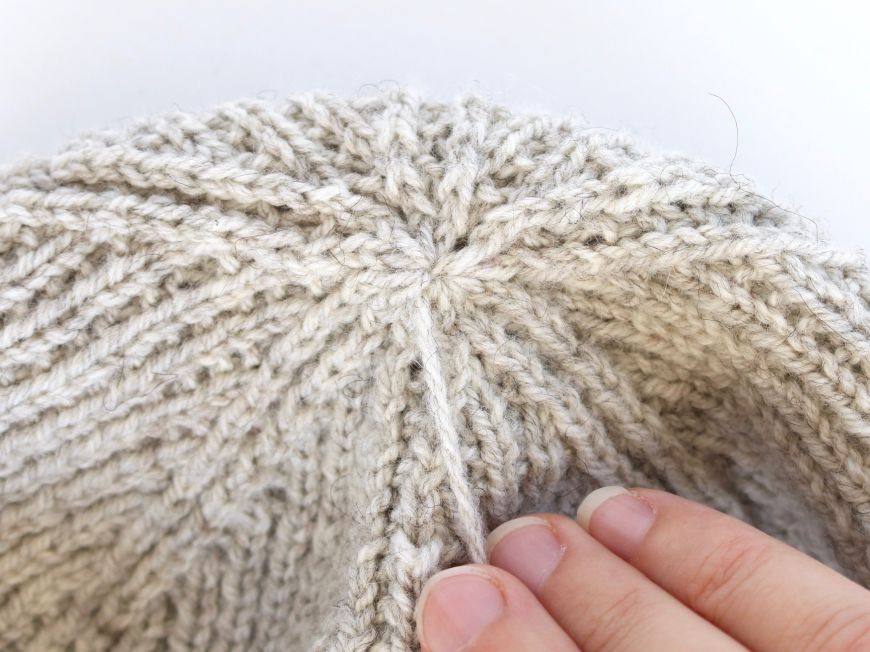
For the top of a hat, we're going to hide the cut end in the centre of the crown.
When you bound off the hat, you probably formed a circle through the final stitches with your yarn. Let's just close the circle firmly first. From the position your yarn is in now, push your needle under the yarn loop on the opposite side of the circle and pop the needle out the top.
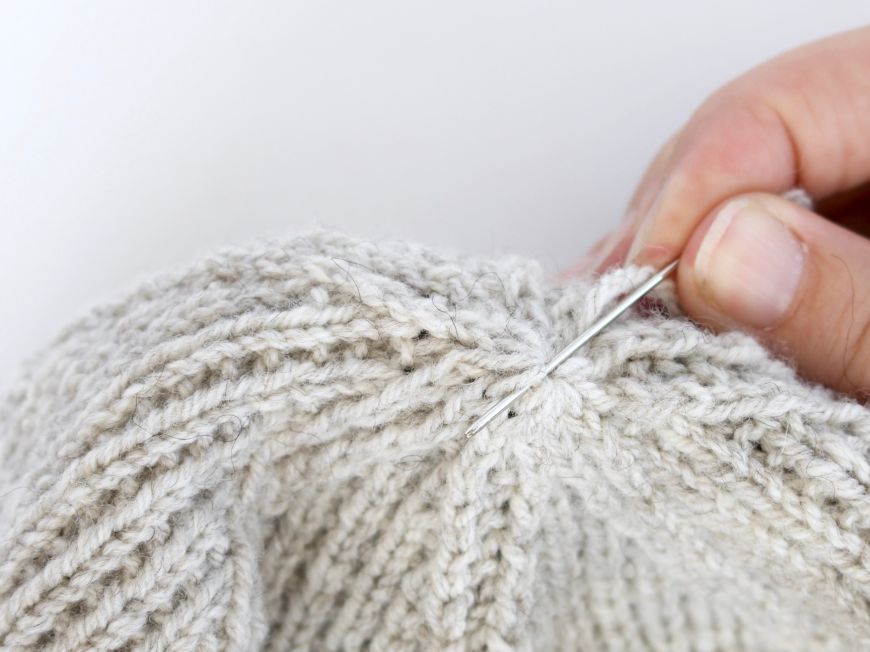
Pull your yarn gently to really close up the hole there.

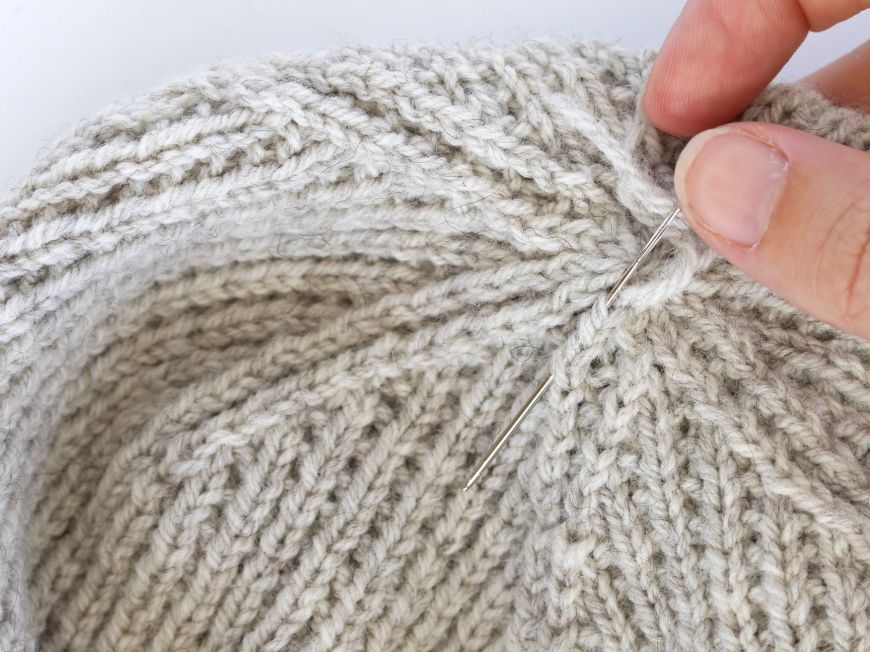
Follow one of your decrease lines down along the crown of the hat and slip your needle under four or five stitches there.
Turn your needle around and on the other side of that decrease line, slip your needle under the line of stitches back to the centre of the hat.
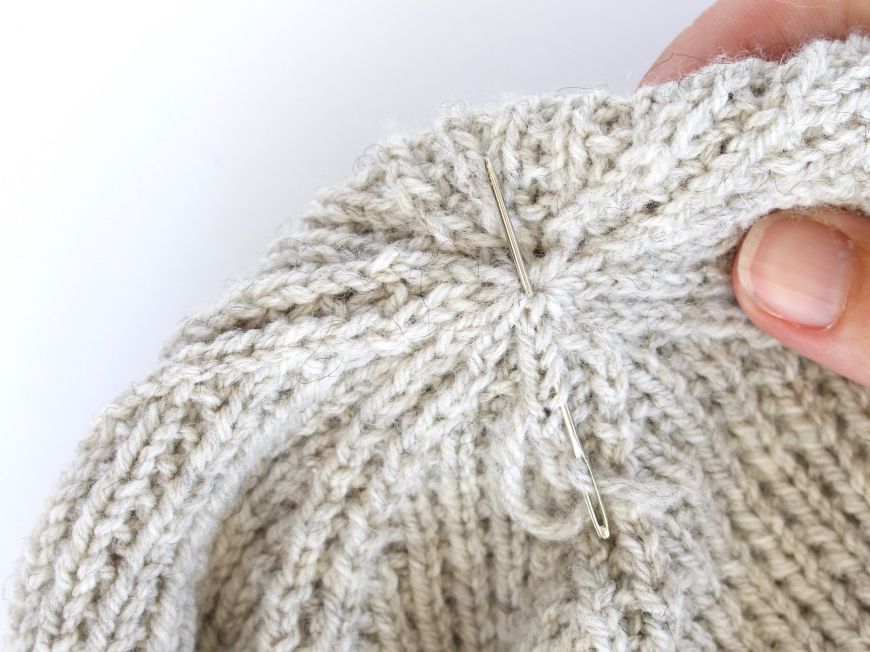
Gently pull your yarn to take up the slack (just like you did the for the ribbing section) then cut your yarn. The cut end can just sit in the centre hole and blend in with the stitches there.

That's it! Invisible ends are mostly about cutting the yarn in a strategic place like an edge or seam where they'll be discretely nestled into the fabric.
I hope you've found this useful! If you want to save this tutorial for later, I've made quick guides (below) for you to pin, download or save for later. Happy knitting!