How to Read Knitting Patterns - part 1
Each knitting pattern designer has their own presentation style, but the information provided in each pattern is generally the same. We're going to show you what each section means and how you can take steps toward knitting the perfect garment.
In part one today, we're going to talk about knitting pattern recommendations for needles, yarn and gauge so you can source everything you need to get started.
- Part two is about learning how to choose which pattern size to knit, finding your size in the instructions and how to read schematics.
- Part three is about reading and understanding the written instructions.
NEEDLES
You'll often see needle recommendations written something like this:
4.5 mm (US 7) and 5.5 mm (US 9) or size needed to obtain gauge.
"Size needed to obtain gauge" refers to the gauge (refer below) and means that this needle size is the one you use to check your gauge and it can be changed in order to get the right stitch count. Some people knit tightly, others loosely ... but it's better to adjust the needles than your knitting technique. You can choose whether or not you adjust the second needle size too. The smaller needle size is generally just for ribbing and gauge isn't so important there.
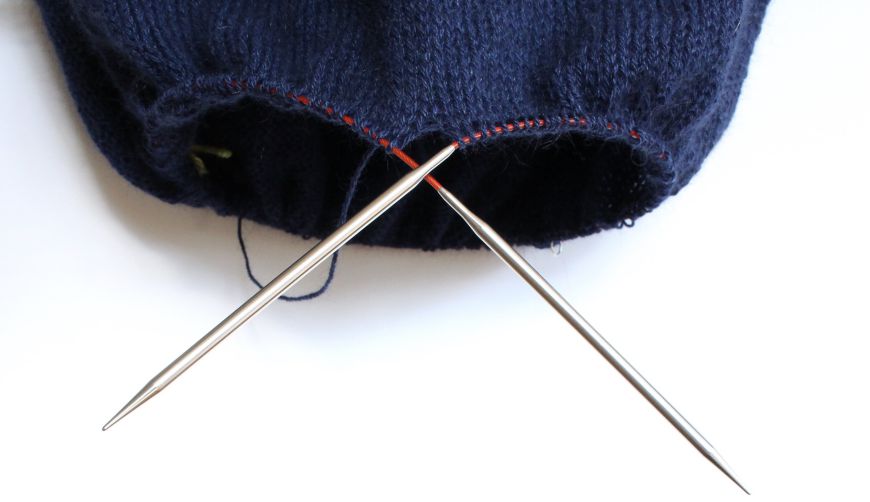
If your pattern uses circular needles, you might see text more like this:
5.5 mm (US 9) 100 cm (40") circular needle (or size needed to obtain gauge) and 4.5 mm (US 7) 100 cm (40") circular needle.
Again, you have your reference to which needle size is used to check your gauge, but there's an additional reference given which applies to the recommended cord length on your needles. Circular needles use a flexible cord to join both needles togetherand the length of this cord determines how much work you can fit along it. In the example above, it's telling you that you need a 100 cm/40" long cord between your needles.
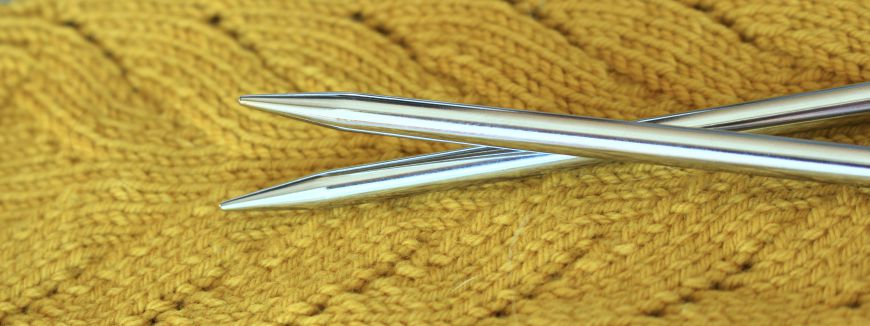
Circulars come in two main options: Fixed and interchangeable.
"Fixed" means that the cord is permanently joined to the needles, while "interchangeable" means you can unscrew the needle tips from the cord and reattach tips in another size. There's no right or wrong with either of these. It's just personal preference. This photo shows a "fixed" circular but mostly I just buy whatever is available.
Some patterns will also suggest DPN's. These are double pointed needles which some people use for knitting in the round. Circular needles aren't for everyone and this is an alternative.
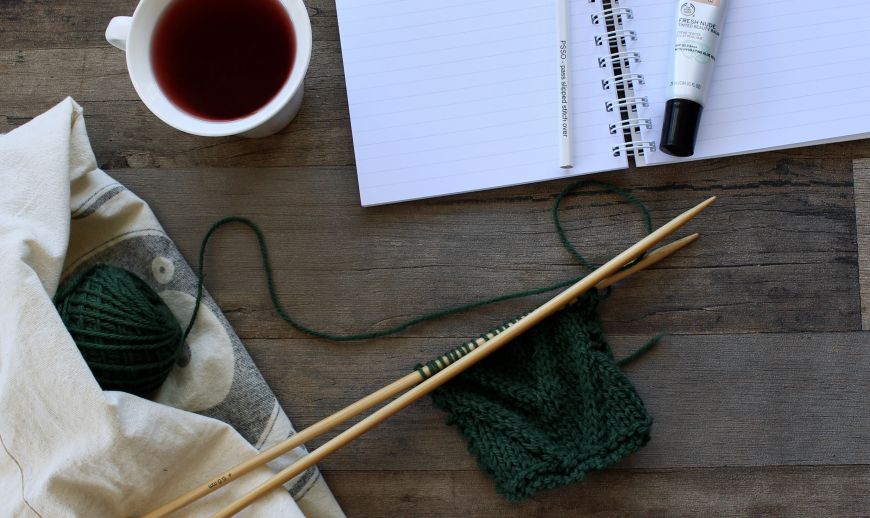
YARN
There's a few elements to the yarn recommendations within a knitting pattern. Whatever yarn you choose to go with, I highly recommend only buying one ball to start with. You'll need to check that it's going to work first and this will save you lots of money if it's not right. You can go back later to get the full quantity needed.
Most designers will state the yarn they used for their sample, so let's take a look at this first.
Brooklyn Tweed Peerie (fingering weight, 100% merino wool; 50g/192m/210 yds per skein) 1 skein in Marigolds
Brooklyn Tweed Peerie: If you want to make a garment exactly like the one shown in the designers sample, this part tells you exactly what to use. But of course, substitution is always an option.
Fingering Weight: This is the yarn weight. Yarn actually comes in a variety of sizes which is categorised by weight or ply. When following a knitting pattern, this isn't something you can change (unless you're a pro knitter) and if a knitting pattern used a particular weight, you should find yarn in that same weight. Different countries use different phrasing but generally Fingering weight = 3-4ply, DK (double knit) = 8ply, Worsted = 10ply and Aran = 12ply.
100% merino wool: If you want/need to substitute the yarn, then I recommend choosing a similar fibre blend. In this case, you'd try to find another 100% merino wool option. Various fibres have different characteristics which affect the final fabric and can lead to quite different results. A cabled sweater in merino could turn into a stretched out mess in alpaca silk. Again, if you're a knitting pro then you can substitute with confidence, but the rest of us will get better results by staying close to the recommendations.
50g/192m/210 yds per skein, 1 skein in Marigolds: This is just telling you about how much yarn is in each ball/skein of the brand they used, along with how many balls/skeins they actually went through and which colour is shown. Again, it helps you make an exact replica if you wanted to. Sometimes though, these figures can help you do the maths if the designer hasn't provided information like the meterage/yardage you'll need in total. If they've only told you how many balls/skeins you'll need for each size, then you can use these figures to work out how many metres/yards of yarn you're going to need of your substitute yarn (eg 5 balls = 960 metres needed). See below for help with calculating how many balls/skeins of yarn you'll need.
1121 (1211, 1324, 1427) (1580, 1665, 1831, 1932) metres: Each number refers to a garment size. There should be a sizing guide in your pattern (or a schematic) which helps you work out which size to make and we'll cover that in the next tutorial. But for now, if you're making the smallest size, then you'd need 1,121 metres of yarn. The largest size needs 1,932 metres.
If your chosen yarn has 200 metres per ball, then 1,121 divided by 200 = 5.6 and you always round up, so you'll need 6 balls of yarn. It's better to have too much yarn than not enough and you can always make a hat or something small from the leftovers.
Sometimes this information is just confusing or might be lacking some details. You might not be familiar with the brand they used or even know what weight the yarn is. Unfortunately, you have to do some research to find it out yourself, but a lot of local yarn stores are super helpful when it comes to finding substitutes and can usually guide you through. They always appreciate your support too.
GAUGE
It's super tempting to skip the gauge, but you shouldn't. This is the difference between the finished garment fitting or not. I have a specific post on gauge, plus a video to go with it, so be sure to check that out for more details. It's a major key to your success.
Once you get the same stitch count as the gauge in the pattern, you're good to go!
Check out part two in this series where we'll talk you through choosing which size to knit, understanding schematics (line drawings) and finding your size within the instructions.